In today’s digital age, virtual communication has become more important than ever. Zoom, a popular video conferencing tool, allows individuals and groups to connect remotely for meetings, classes, and social gatherings. Whether you’re new to Zoom or looking to improve your skills, this beginner’s guide will walk you through the essentials of hosting and attending Zoom meetings.
Getting Started with Zoom
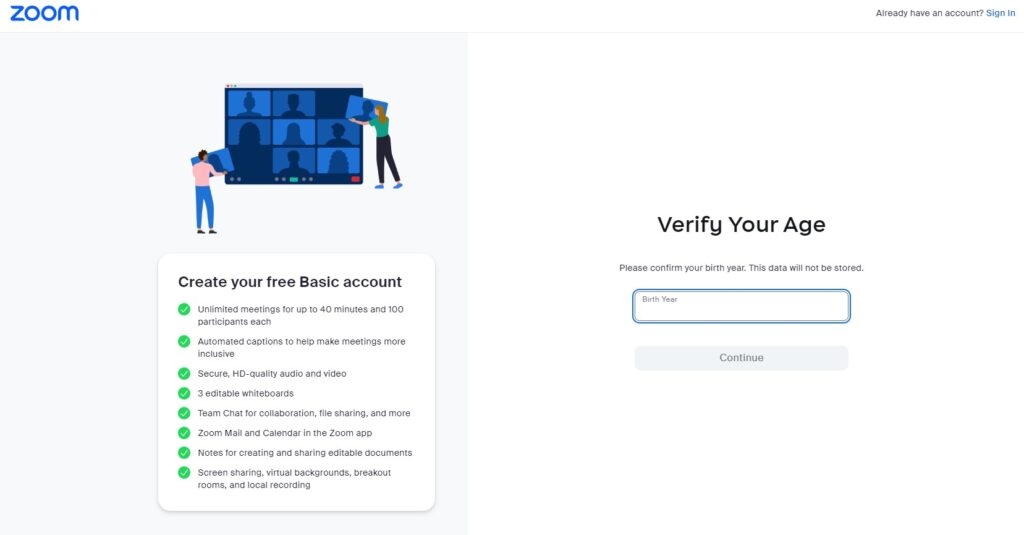
1. Sign Up for Zoom
To begin using Zoom, you’ll need to sign up for an account. Visit the Zoom website (zoom.us) and click on “Sign Up, It’s Free” to create your account.
2. Download Zoom
Once you’ve signed up, download the Zoom application on your computer or mobile device. Zoom is available for Windows, macOS, iOS, and Android.
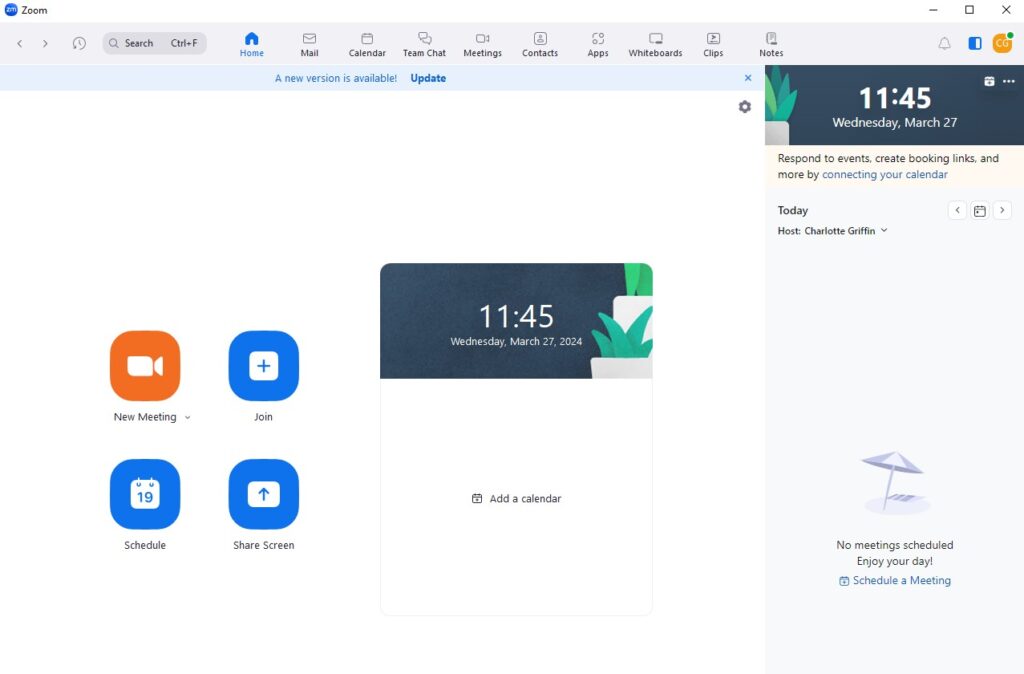
3. Familiarise Yourself with Zoom Interface
Take some time to explore the Zoom interface. Familiarise yourself with features like video, audio controls, chat, and screen sharing.
Hosting a Zoom Meeting
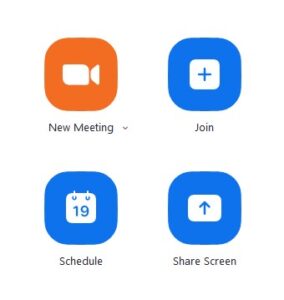
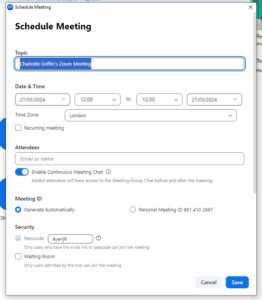
1. Schedule a Meeting
Click on the “Schedule a Meeting” option in the Zoom application. Set the date, time, and other details for your meeting. You can also generate a meeting ID and password.
2. Invite Participants
Share the meeting link or ID with participants via email or other messaging platforms. You can also use Zoom’s built-in invitation feature to send invites directly.
3. Start the Meeting
At the scheduled time, open the Zoom application and click on “Start Meeting.” Participants can join by clicking on the meeting link or entering the meeting ID.


4. Manage Meeting Controls
As the host, you have control over various meeting settings. You can mute participants, disable video, and manage screen sharing permissions.
5. Engage Participants
Encourage participants to use features like chat, raise hand, and reactions to engage with the meeting content. Utilise breakout rooms for group discussions or activities.

Attending a Zoom Meeting
1. Joining a Meeting
When invited to a meeting, click on the meeting link or enter the meeting ID in the Zoom application. You may need to wait in the virtual waiting room until the host admits you.
2. Adjust Audio and Video Settings
Before joining the meeting, make sure your audio and video settings are configured correctly. Test your microphone and camera if necessary.
3. Participate in the Meeting
Once in the meeting, engage with other participants using video, audio, and chat features. Follow the host’s instructions and be respectful of other attendees.
4. Utilise Meeting Features
Familiarise yourself with meeting features like raising hand, reactions, and screen sharing. Use these tools to contribute to the discussion or ask questions.
5. Leave the Meeting
When the meeting is over, click on the “Leave Meeting” button to exit. You can also choose to end the meeting for all participants if you’re the host.
Tips for a Successful Zoom Experience
- Ensure a stable internet connection for smooth video and audio.
- Choose a quiet, well-lit environment for meetings.
- Test your audio and video settings before joining a meeting.
- Respect meeting etiquette and mute yourself when not speaking.
- Be punctual and join meetings on time.
- Explore advanced features like recording, virtual backgrounds, and polls to enhance your Zoom experience.
By following this beginner’s guide, you’ll be well-equipped to host and attend Zoom meetings with confidence. Embrace the convenience of virtual communication and stay connected from anywhere in the world.
Explore Zoom’s Paid License Options
While Zoom offers a free version with many essential features, upgrading to a paid license unlocks additional functionalities tailored to various needs. Here’s a glimpse of some key features available with paid Zoom plans:
1. Longer Meeting Duration
Free Zoom accounts limit meetings to 40 minutes for group meetings with three or more participants. Paid plans allow you to host meetings for extended durations, making them suitable for longer discussions, presentations, and events.
2. Increased Participant Limit
With the free version, you can host meetings with up to 100 participants. Paid plans offer higher participant limits, enabling you to accommodate larger gatherings such as webinars, conferences, or virtual classrooms.
3. Advanced Administrative Controls
Paid Zoom licenses provide administrators with enhanced controls and customisation options. You can manage users, access advanced security settings, and integrate Zoom with other applications seamlessly.
4. Cloud Recording and Storage
Enjoy the convenience of cloud recording with paid Zoom plans. Record your meetings, webinars, or training sessions directly to the cloud for easy access, sharing, and playback.
5. Dedicated Customer Support
Subscribing to a paid Zoom plan grants you access to priority customer support. Get assistance from Zoom’s dedicated support team to resolve issues, answer questions, and optimise your Zoom experience.
6. Additional Collaboration Tools
Unlock a suite of collaboration tools with paid Zoom licenses, including expanded breakout rooms, polling, and advanced reporting features. These tools enhance engagement and productivity during meetings and events.
Choosing the Right Plan for You
When selecting a paid Zoom plan, consider your specific requirements, such as the size of your meetings, frequency of usage, and desired features. Zoom offers a range of subscription options tailored to individuals, small businesses, enterprises, and educational institutions.
Ready to Upgrade?
Upgrade to a paid Zoom plan to unlock a world of possibilities for seamless virtual communication, collaboration, and productivity. Why not contact our Sales Team to explore pricing plans, compare features, and choose the subscription that best suits your needs.


