In today’s digital world, a high-quality video conferencing setup is essential for successful meetings. As experts in unified communications, VideoCentric knows that the key to a professional, effective video conference isn’t just the equipment you use, but also the environment in which it’s used. Here’s a comprehensive guide on how to set up your meeting room to maximise the performance of your video conferencing equipment.
Soundproofing: The Backbone of Clear Communication
Why Soundproofing Matters
Echoes, background noise, and poor acoustics can severely undermine the quality of your video conferences. Proper soundproofing ensures that voices are clear and easily heard, free from disruptive noise.
Soundproofing Solutions
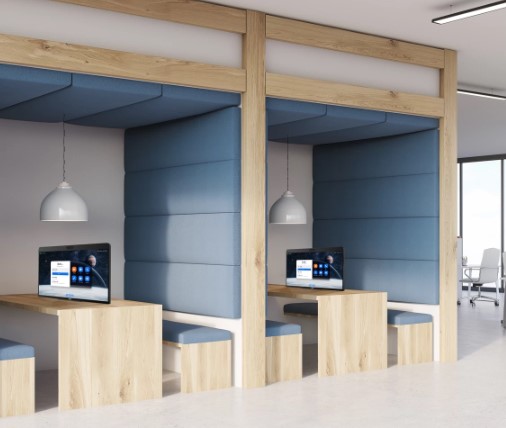
- Install acoustic panels on the walls to absorb sound waves. These panels come in various styles and can also enhance the room’s aesthetics.
- Hard floors can cause sound to bounce around, so covering them with carpet or rugs can significantly reduce echoes.
- Ensure that doors and windows are properly sealed to prevent outside noise from entering. Use weather stripping and door sweeps.
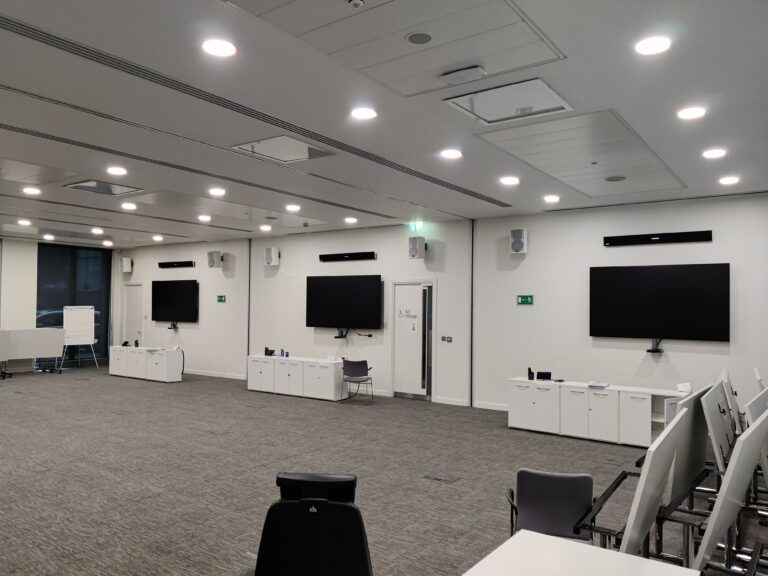
- Acoustic ceiling tiles can help reduce sound reflections from above, creating a quieter environment.
- Include soft furnishings like curtains, upholstered chairs, and cushions to absorb sound.
Don’t forget that your suspended ceiling is a huge sound void. It allows audio to pass across the tops of rooms, often allowing a conversation in one room to be heard in an adjacent one.
Consider “lagging your loft” or for the more technical solution, deploy a sound wave inversion system.
Avoid These Pitfalls
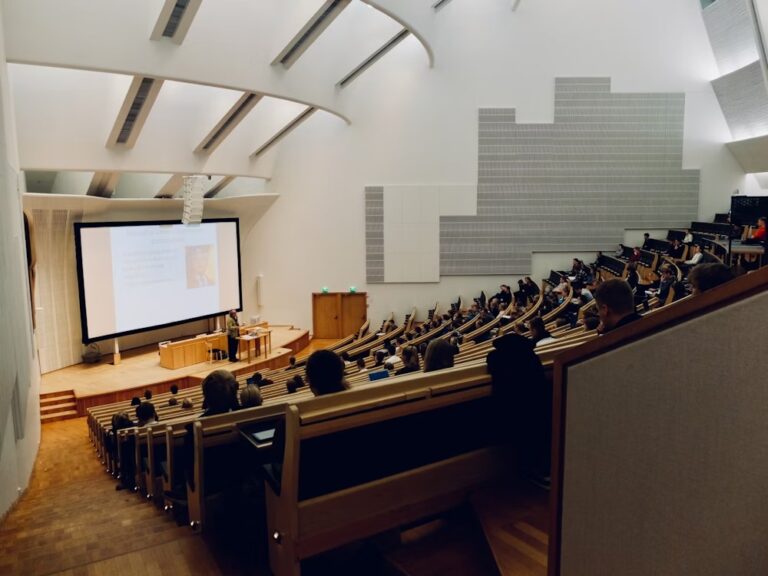
- Open or high ceilings can create an echo chamber effect. opt for a standard height ceiling with acoustic treatment.
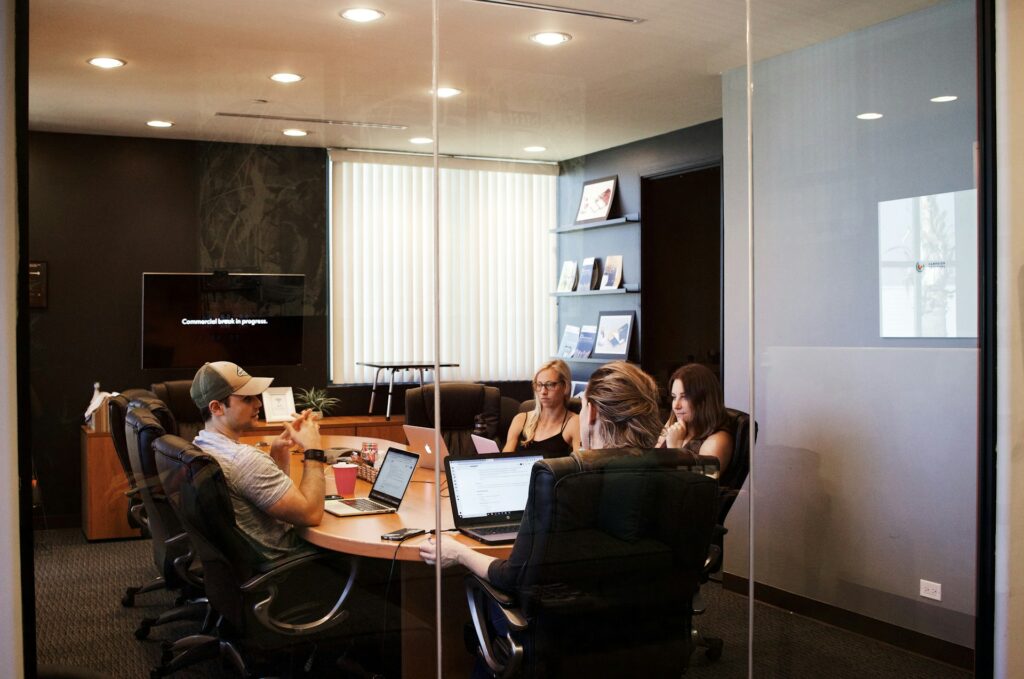
- Avoid extensive use of glass, metal, or other hard surfaces that reflect sound. If glass is necessary, consider frosted or laminated glass which can help reduce noise.
Lighting: The Key to Clear Video
Optimal Lighting Setup
Proper lighting is crucial for clear, professional video quality. Utilise natural light but control it with blinds or shades to prevent glare. Position the room so that natural light is even and indirect.
Here’s how to get it right:
- Layered Lighting: Use a combination of overhead lights, task lights, and accent lights to create a balanced, well-lit environment.
- Diffused Lighting: Soft, diffused lighting reduces harsh shadows and provides a flattering light source. Use light diffusers or frosted light covers.
- Adjustable Lighting: Implement dimmable lights to control the brightness and avoid overexposure on camera.
Lighting Don’ts
- Direct Overhead Lights: Avoid relying solely on harsh overhead lighting, which can cast unflattering shadows.
- Backlighting: Position lights in front of participants rather than behind them to prevent silhouettes and ensure faces are well-lit.
Windows: Balancing Natural Light and Sound
- Window Treatments
- Windows can be a double-edged sword in a meeting room. Here’s how to optimise them:
- Soundproof Windows: Invest in double-glazed or laminated glass windows to reduce external noise.
- Blinds and Shades: Install adjustable blinds or shades to control the amount of natural light and prevent glare.
- Curtains: Heavy curtains can both block out light when needed and add an extra layer of soundproofing.
Window No-Nos
- Bare Windows: Avoid leaving windows uncovered, as they can introduce too much light and noise.
- Mirrored or Tinted Glass: While these might look modern, they can cause glare and reflections that interfere with video quality.
Room Layout and Furniture: Designing for Success
Layout Tips
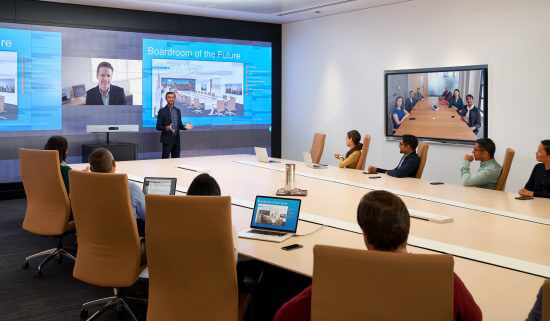
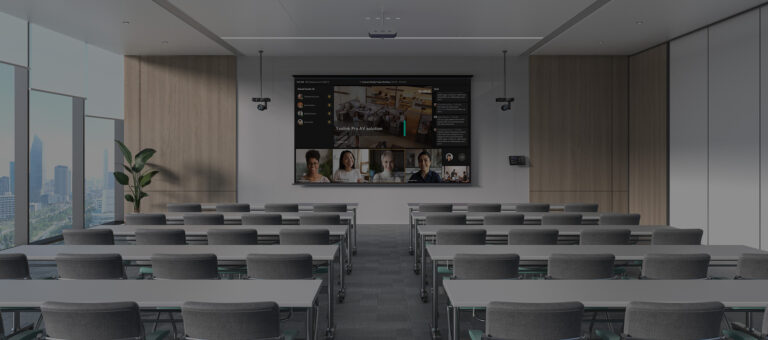
- Centralise the Camera: Position the camera at eye level and centrally in the room to capture participants evenly.
- Ergonomic Seating: Ensure chairs are comfortable and provide good support for long meetings.
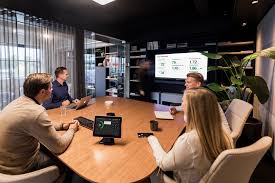
- Table Shape: Round or oval tables are ideal for promoting interaction and ensuring everyone is visible on camera.
Furniture Choices
- Non-Reflective Surfaces: Choose tables and other furniture with matte finishes to reduce glare.
- opt for furniture that can be easily rearranged to suit different meeting types.
Layout Pitfalls
- Avoid overcrowding the room with too much furniture, which can obstruct views and movement.
- Static furniture layouts can be inflexible for different meeting setups.
HVAC and Acoustics: Managing Background Noise
HVAC Solutions
- Install HVAC systems designed to operate quietly.
- Place vents away from the main seating area and use acoustic dampers to reduce noise.
HVAC Don’ts
- Avoid using loud air conditioning units that can create a constant hum or disrupt the meeting.
Final Touches: Enhancing Audio and Video
Microphones and Speakers
- Use directional microphones to pick up voices clearly and minimise background noise.
- Position microphones on the table and ceiling speakers to ensure even sound distribution.
- Choose a video conferencing system with in-built echo-cancellation so that the incoming sound coming from your speakers doesn’t isn’t allowed to go back the other way when it hits your microphones.
- In bigger spaces choose a professional Digital Signal Processor (DSP) from a certified 3rd party, to professionally cancel echo.
Cameras
- Invest in high-definition cameras for clear, sharp images.
- Ensure cameras are positioned to capture participants’ faces directly and avoid unflattering angles.
Creating an ideal meeting room for video conferencing involves careful consideration of acoustics, lighting, layout, and equipment. By following these guidelines, you can ensure your meeting space is optimised for clear communication, effective collaboration, and professional presentation. For expert consultancy and installation services, trust VideoCentric to help you design and set up your perfect meeting room.
For more tips and professional guidance, contact VideoCentric today to learn how we can transform your meeting space into a state-of-the-art video conferencing hub.

